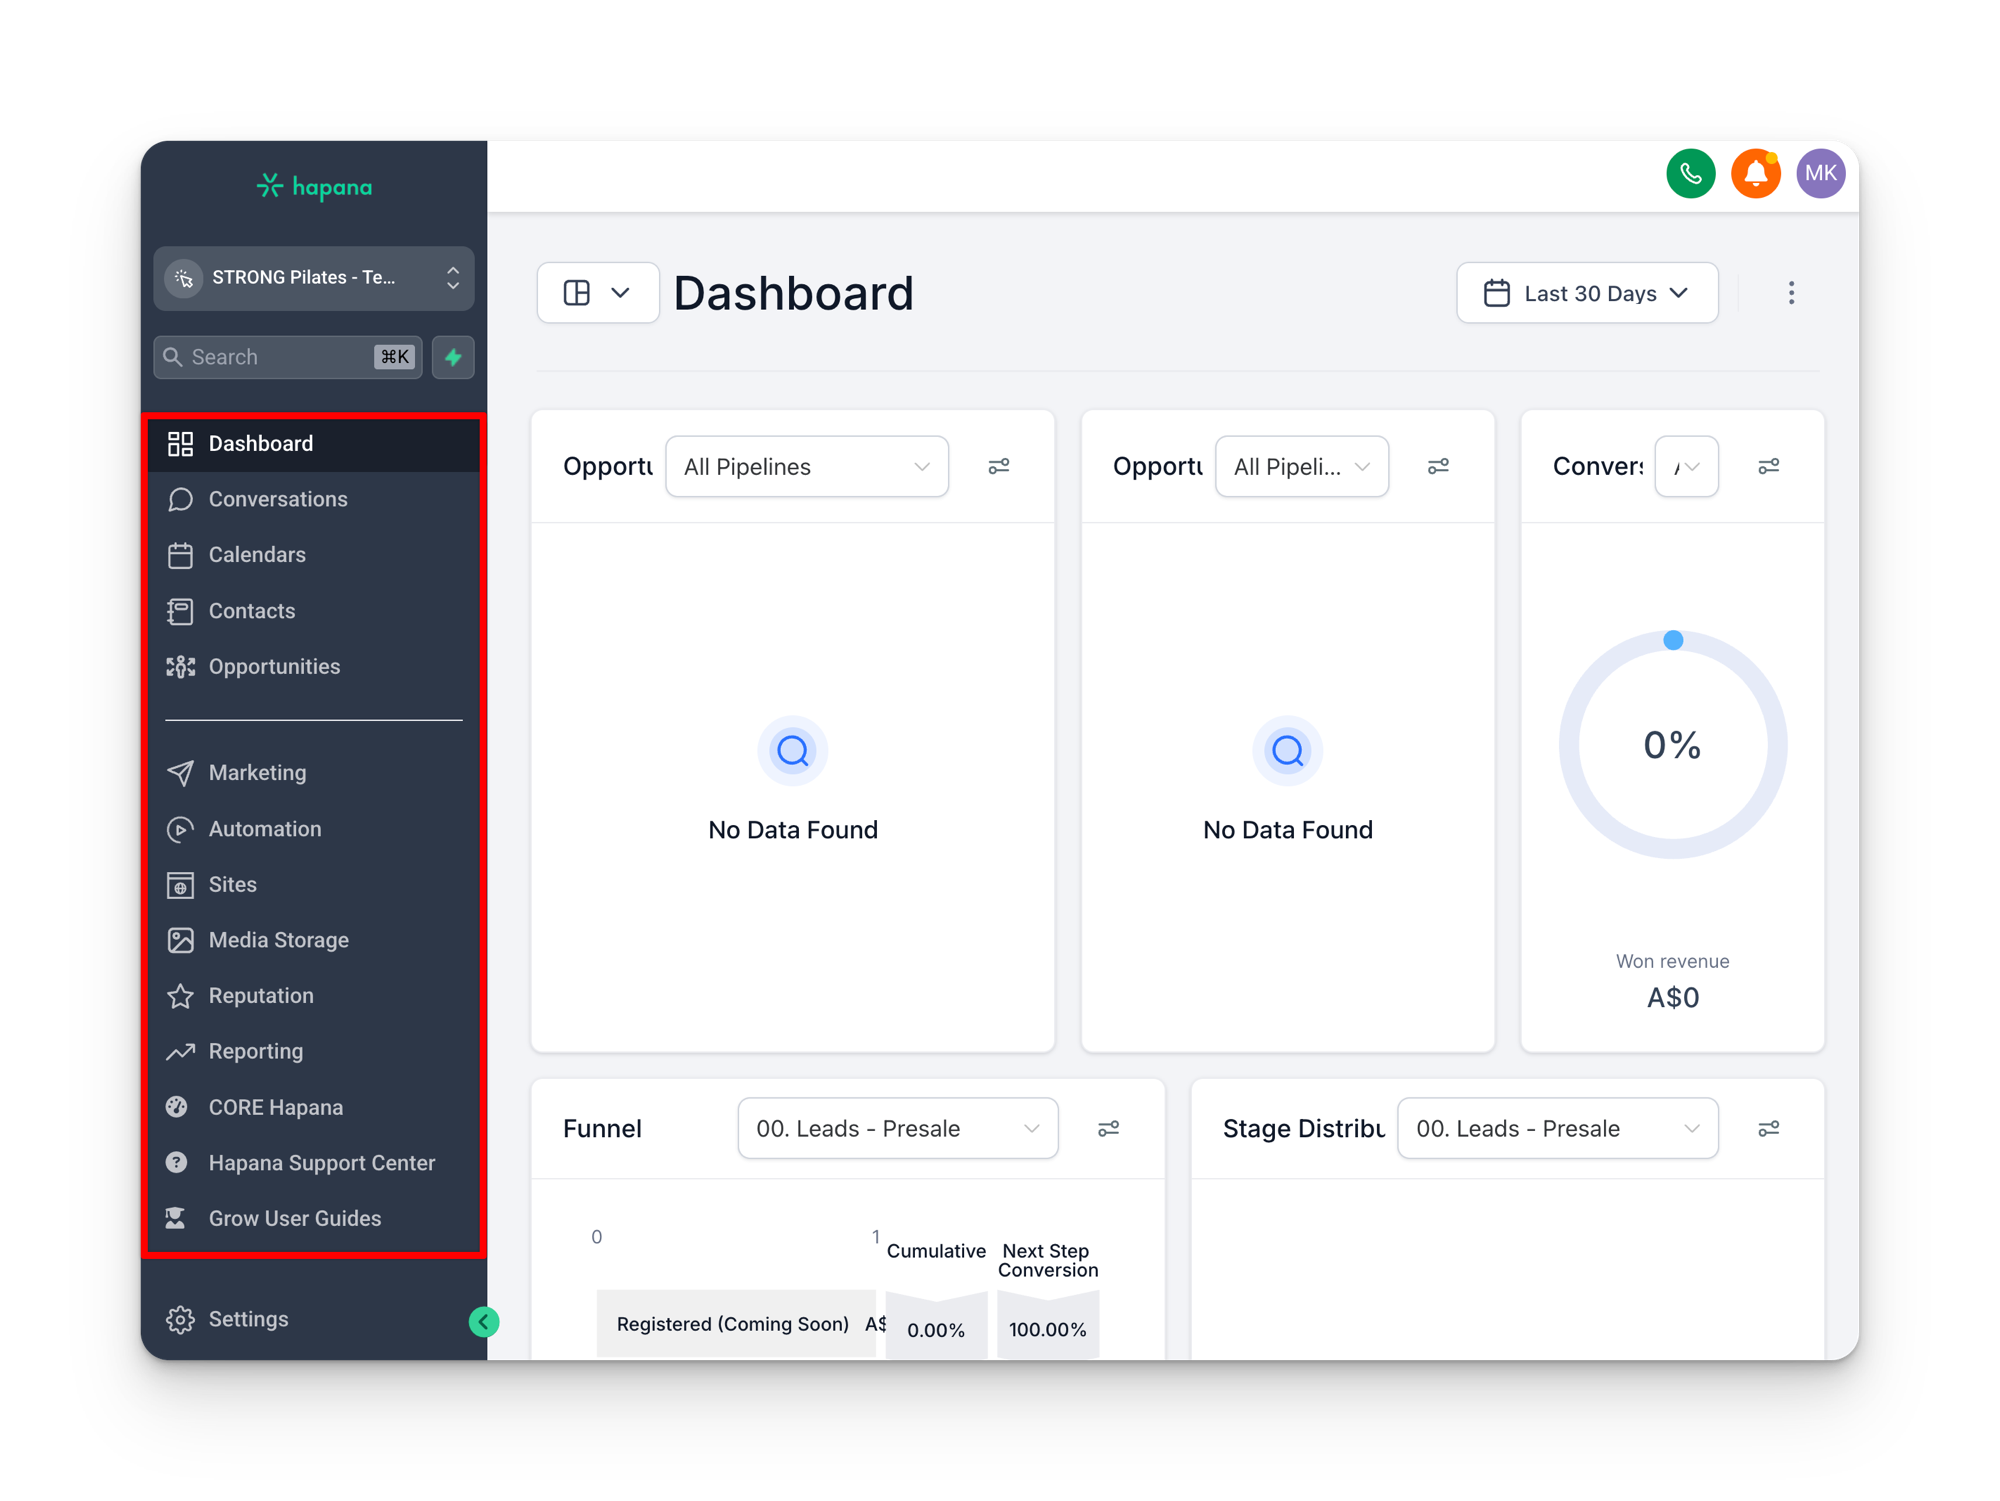
When you first log in to Grow, you will see the main navigation menu on the left side of the screen. This is your primary way of moving between sections. Some pages also have a secondary menu at the top (sometimes called the toolbox or sub menu) with additional options specific to that section.
Naming convention
Throughout this guide, we refer to the left sidebar as the main navigation menu and any horizontal menu at the top of a page as the toolbox or sub menu.
Above the line vs below the line
You will notice a dividing line in the main navigation menu. This is a useful mental model for how to think about Grow.
Everything above the line is what you should be looking at and operating in daily, if not multiple times a day. These are the sections where active work happens.
Everything below the line is what makes the sections above the line work. These are the configuration and setup areas that power your daily operations.
Daily sections (above the line)
Conversations
This is where all of your communications live in one place. SMS, email, Instagram DMs, Facebook messages, and Google messages all feed into a single conversation pane. Instead of switching between different apps and platforms, you can see and respond to everything from here.
Beyond just reading messages, you can also see a contact’s notes, their past behavior, and their history. This gives you context for coaching current members and following up with leads effectively.
Calendars
The calendar section shows availability for any calendar booking links that have been set up. This is where you manage scheduled appointments and consultations.
Contacts
Most people think of contacts as just a database of names and emails. It is much more than that. The contacts section is where you create and manage Smart Lists, which are dynamic, auto-updating segments of your database.
Unlike traditional email marketing where you upload a spreadsheet every time you want to send something, Smart Lists update automatically based on the rules you set and the data flowing in from the Core integration. You can see in real time your current members, active promotions, past members, suspended members, and contacts at each pipeline stage.
Opportunities
This is your pipeline view and it is the section you should be checking multiple times a day. Opportunities show you where every lead sits in their journey, from first contact through to conversion. We will cover how to manage your pipeline correctly in the Pipelines and Opportunities section so that you always have the right leads at the right stages.
Setting up your daily bookmarks
Before you start using Grow each day, having the right pages bookmarked in your browser saves time and removes friction. Every 10 to 15 seconds you save navigating is one more call you can make.
Bookmark these two pages at minimum:
- Tasks (inside the Contacts section). Go to Contacts, then click the Tasks tab at the top. Bookmark this page. Automations create tasks for you automatically, so checking this first thing means you never miss a follow-up.
- Opportunities (your pipeline view). Bookmark the Opportunities page with your default pipeline selected. This is where you will spend most of your time working leads and intro offer contacts.
When you open your browser each morning, your two bookmarks put you straight into your tasks and your pipeline without needing to click through menus.
Add them to your bookmarks bar
Drag the tabs to your bookmarks bar so they are always visible. On Mac, press Cmd+Dto bookmark the current page. Give each bookmark a short name like “Tasks” and “Pipeline” so they fit neatly in the bar.
Configuration sections (below the line)
Marketing
Contains your social planner, email campaigns, SMS snippets, and email templates. This is where the content that powers your communications lives.
Automation
The engine that makes everything move automatically. Workflows live here, handling things like automated pipeline movements and triggered messages. This is covered in depth in the Workflows section.
Sites
Landing pages, websites, analytics, blogs, forms, surveys, and the chat widget all live here. HQ typically manages the landing pages for you, but this is where they are housed if you ever need to reference them.
Media Storage
All images used in your emails and landing pages are stored here. You can also grab direct links to files like PDFs if you need to send them to your audience.
Reputation
A centralized view of your Google and Facebook reviews. You can see and manage all reviews from this section.
Reporting
If you handle calls through Grow, this is where the call reports and core analytics live.
Settings you need to configure
Before you start using Grow day to day, there are several settings that need to be configured correctly. Skipping these steps is one of the most common reasons things break or behave unexpectedly.
Business Profile
Make sure your business name, address, and details are set up correctly. This information gets pulled into communications and forms.
Time Zone
Critical for scheduled communications. If your time zone is wrong, your automated messages will fire at the wrong time.
User Profile and Email
You need to be logged in with your location’s email address. This ensures outgoing emails come from the right sender. Your Google Calendar also needs to be connected through this email for booking integrations to work.
Phone Numbers
Verify that your phone number is set up correctly, including call forwarding settings. If call forwarding does not reach the main number, check whether staff members need to be excluded from the forwarding chain.
Integrations
To get the full power of Grow, you need your integrations configured. This is what allows SMS, email, Instagram, Facebook, and Google messages to all flow into the single Conversations pane. Without these integrations connected, you will not see messages from those channels.
Facebook Form Fields Mapping
Do this before using Facebook forms in workflows
If you are running Facebook lead ads, the forms must be mapped in the Facebook Form Fields Mapping section of your settings before you use them as a trigger in any workflow. Many people skip this step, set up a Facebook form as a workflow trigger, and then wonder why leads are not coming through. The form needs to be mapped first.
Custom Values
Custom values are dynamic placeholders that get replaced with real information in your SMS and email communications. Things like your website URL and app URL are stored as custom values. If these are left empty, they will appear as blank spaces in your messages. Make sure every custom value relevant to your location is filled in. We cover this in detail in the Custom Fields vs Custom Values section.